What is the Difference Between Drywall Taping and Drywall Installation?
Drywall, an important part of modern buildings, is like a blank board on which rooms are built. To understand how it works, you need to be able to tell the difference between two important steps: drywall taping and drywall installation. Both are necessary steps for making smooth, finished walls, but they do different things. Attaching the drywall sheets to the wall studs is the main part of drywall installation. This makes sure that the structure is strong and stable.
On the other hand, drywall taping involves carefully applying joint compound and tape to the gaps between installed drywall sheets to make a smooth surface that is ready to be painted or wallpapered. Each step needs its own set of tools, skills, and techniques, which affects the overall costs and timeline of the project.
Key Differences Between Drywall Taping and Installation
Putting up drywall and taping it are both important steps in the building process for finishing walls and ceilings. To get smooth, visually pleasing surfaces, you need to know how they are different.
Purpose
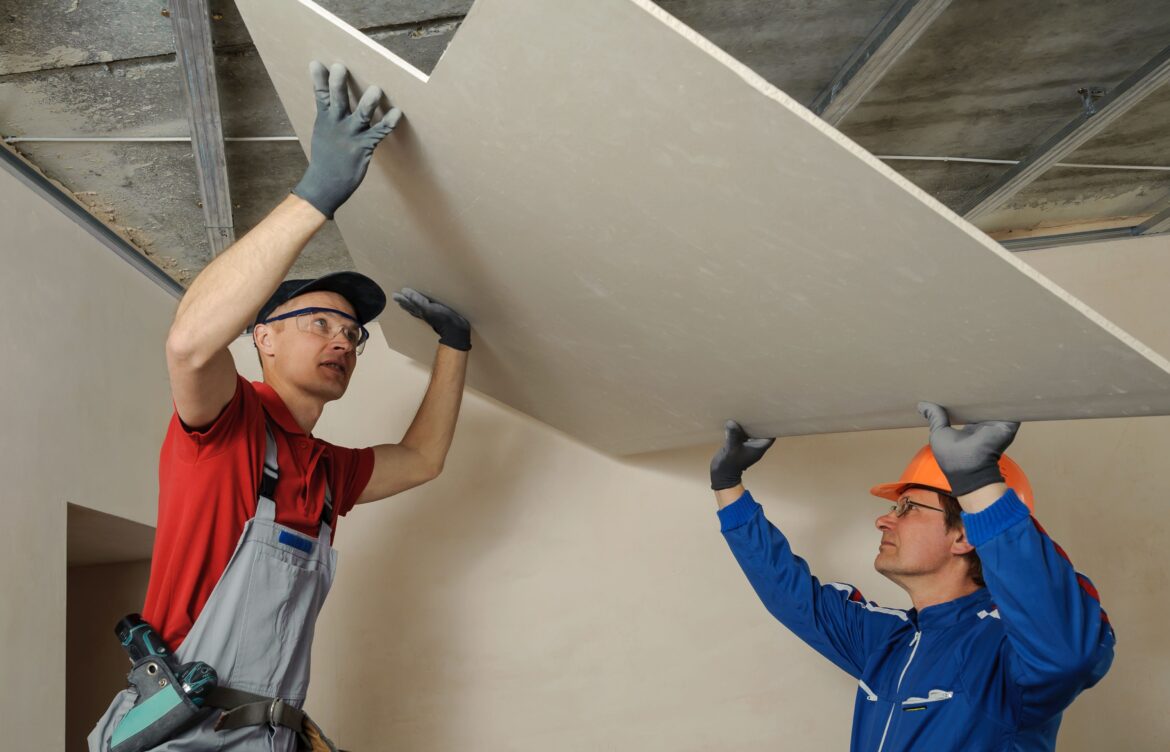
Putting up big sheets of drywall on the building’s frame, usually wall studs or ceiling joists, is what this is all about. The main goal is to make a shield for the structure and a surface for finishing.
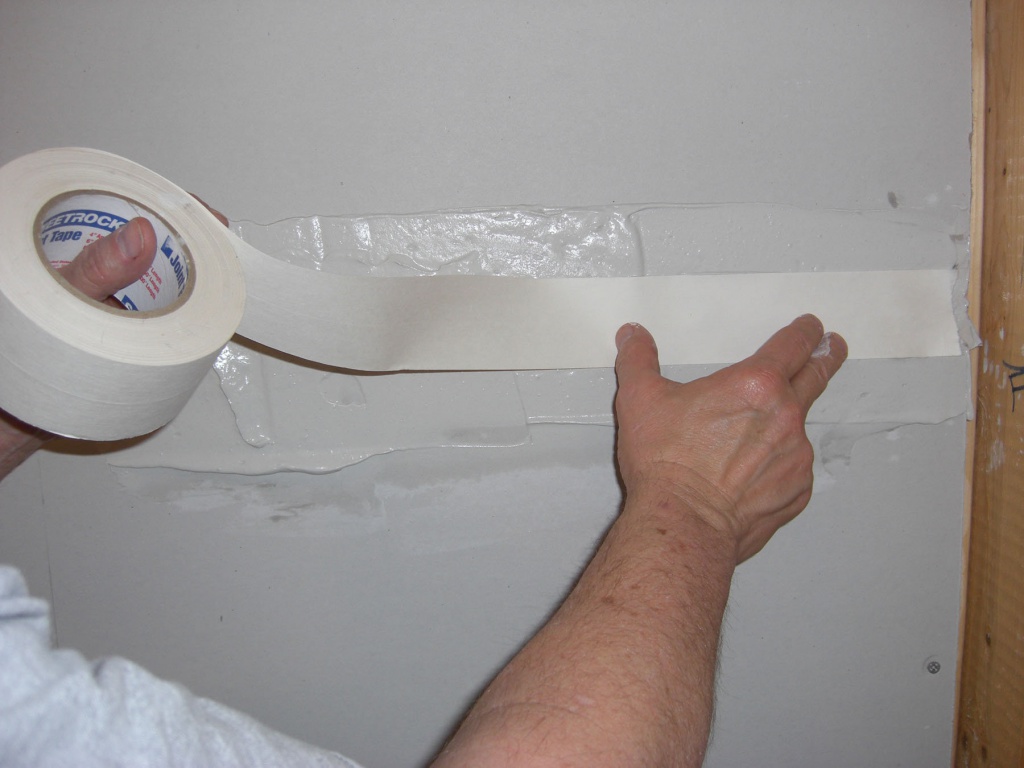
Putting joint compound (also called mud) and drywall tape over the gaps between drywall sheets to cover and strengthen them is called taping. The goal is to make the changes between panels look smooth so that you can paint or wallpaper them.
Tools and Materials Required
For installation, you’ll need drywall screws or nails, a screw gun or hammer, a utility knife to cut the drywall, and a T-square to make sure you get the lengths right.
To tape, you need joint compound, drywall tape (either paper or fiberglass mesh), a tapeing knife (usually 4 to 6 inches wide), and sandpaper or a sanding sponge to smooth out the compound after it’s been put down.
Skill and Expertise Needed
For the work to be done correctly, the drywall sheets must be carefully measured, cut, and secured so that they fit tightly without any holes or overlaps.
To get a smooth finish that fits in with the drywall, you need to be very careful when applying and feathering joint compound over the taped seams.
Needs for Time and Work
It takes a lot of work to put up drywall sheets because you have to move and attach the heavy panels with screws or nails and maybe cut and fix them for outlets, corners, and ceilings.
After installation, taping is very careful work that needs several coats of compound, time to dry between coats, and sanding to make the surface smooth and even.

Detailed Comparison of Techniques
This part talks about the differences between the careful process of taping, which focuses on making joints look smooth, and the physical placement of drywall sheets, which makes sure the structure stays strong.
Drywall Installation:
Putting up drywall is the first step in finishing off walls or ceilings in construction work. To make sure the structure is sound and the drywall sheets are in the right place, you need to take a few important steps:
Preparation and Planning
Before you start, you should measure the walls or ceilings where the drywall will go. As you plan the structure, try to cut down on waste and cutting. For example, you should have plaster sheets, screws or nails, a screw gun or hammer, and a utility knife on hand.
Cutting and Fitting Drywall Sheets
Cut drywall sheets to size with a T-square and a tool knife. Measure and use the utility knife to make more accurate cuts around things like outlets or windows. Move each sheet to the studs or joists in the wall or ceiling. Make sure the fit is snug and that the parts don’t overlap.
Attaching Drywall to Studs
Use drywall screws or nails to attach drywall sheets to walls or joists. Along the edges, put pins every 12 inches, and in the middle of the sheet, every 16 inches. Put screws or nails just below the surface so they don’t break the drywall’s paper cover.
Securing Drywall Sheets
Put down more sheets, spacing out the gaps between them so that they are less noticeable. As needed, cut holes for outlets, switches, or other devices, making sure the edges are straight and clean.

Drywall Taping
Once the drywall sheets are in place, drywall taping is used to hide the seams and make a smooth surface ready for finishing:
Applying Joint Compound
Start by mixing the joint solution until it is smooth enough to spread. Using a tapering knife, put a thin layer of compound over the seams between the drywall sheets.
Embedding Drywall Tape
Smooth the gaps of the drywall tape into the wet compound. Make sure the tape is smooth and doesn’t have any wrinkles or bubbles. Cover the tape with a second coat of compound and feather the edges to make them blend in with the drywall.
Smoothing and Sanding
As directed by the manufacturer, let each layer of compound dry fully. Lightly sand each layer that is dry with fine-grit sandpaper or a sanding sponge to get rid of any flaws and make the finish look smooth.
Final Finishing
If you need to, add more coats of compound and feather out the edges with each coat to make the joints blend together easily. After the last spray, sand it down until the surface is smooth and even. This makes it ready for priming and painting.

Conclusion
When installing drywall, the sheets are nailed down to make a solid base. When taping drywall, the joints are carefully blended for a smooth finish. For both, you need certain tools and skills. Being aware of these differences is important for getting quick and good results in building and remodeling work.
